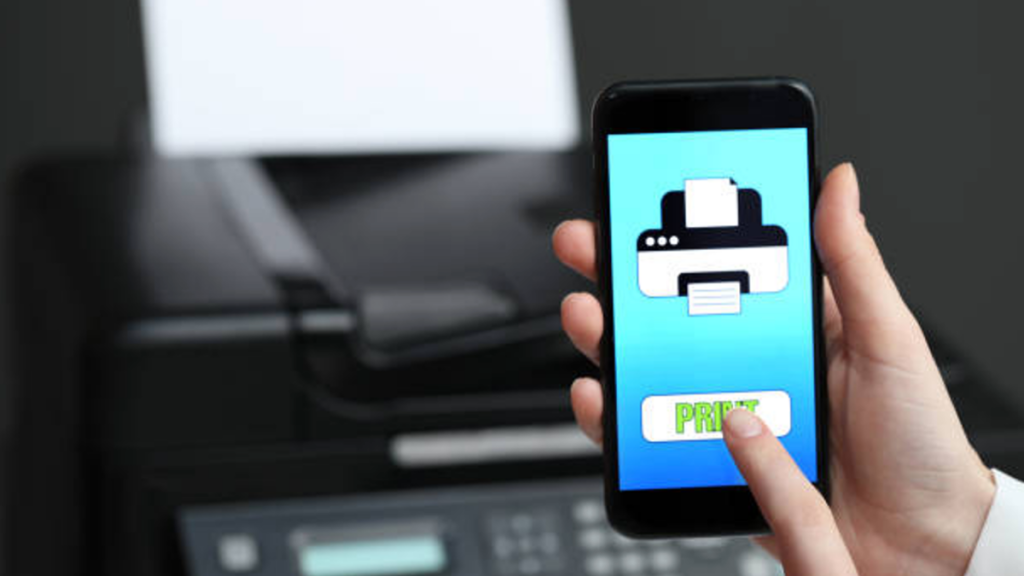
In today’s fast-paced digital world, the concept of faxing might seem antiquated to some, but it remains a vital communication method for many businesses and organizations. Fortunately, you don’t need a physical fax machine to send and receive faxes. With the right tools and apps, you can turn your iPhone into a fully functional fax machine. This article will guide you through the steps, apps, and tips to effectively use your iPhone for faxing.
Contents
Why Use Your iPhone as a Fax Machine?
Convenience and Portability
One of the primary reasons to use your iPhone as a fax machine is the convenience and portability it offers. With your smartphone, you can send and receive faxes anytime and anywhere without needing access to a physical fax machine. This is particularly useful for professionals who travel frequently or work remotely.
Cost-Effectiveness
Using your iPhone to fax eliminates the need for purchasing and maintaining a traditional fax machine. Additionally, it reduces the costs associated with paper, ink, and dedicated phone lines. Many fax apps offer affordable subscription plans, making it a cost-effective solution for occasional or frequent faxing needs.
Environmental Benefits
By going digital, you contribute to reducing paper waste and the environmental impact of physical fax machines. Sending faxes electronically helps in minimizing the use of resources and promotes a greener way of communication.
Choosing the Right Fax App
Popular Fax Apps for iPhone
Several fax apps are available for iPhone users, each with unique features and pricing plans. Here are some popular options:
- eFax: Known for its user-friendly interface, eFax allows you to send and receive faxes, sign documents, and store faxes in the cloud.
- FaxBurner: This app provides a temporary fax number for free and offers in-app purchases for additional features.
- iFax: With a sleek design and robust functionality, iFax supports multiple file formats and integrates with cloud storage services.
- MyFax: MyFax offers the ability to send and receive faxes via email, making it convenient for those who prefer using their email client.
Factors to Consider
When choosing a fax app, consider the following factors:
- Pricing: Look for an app that fits your budget. Some apps offer free trials, while others have monthly or yearly subscription plans.
- Ease of Use: The app should have an intuitive interface and be easy to navigate.
- Features: Ensure the app supports features you need, such as electronic signatures, cloud storage integration, and the ability to send multiple file types.
- Security: Since faxes often contain sensitive information, choose an app with robust security measures, including encryption and secure servers.
How to Send a Fax from Your iPhone
Step-by-Step Guide
- Download and Install the App: Choose a fax app from the App Store, download it, and install it on your iPhone.
- Sign Up or Log In: Create an account or log in if you already have one.
- Prepare Your Document: You can use your iPhone’s camera to scan a physical document or select a file from your device or cloud storage.
- Enter the Recipient’s Fax Number: Input the fax number of the recipient. Some apps allow you to add a cover page with additional information.
- Send the Fax: Review your document and recipient information, then hit the send button. The app will handle the rest, and you will receive a confirmation once the fax is sent successfully.
How to Receive a Fax on Your iPhone
Setting Up to Receive Faxes
- Obtain a Fax Number: Most fax apps provide you with a dedicated fax number when you sign up for their service.
- Notify Senders: Share your new fax number with anyone who needs to send you a fax.
- Check for Incoming Faxes: Open the app to check for new faxes. Some apps send notifications when a new fax is received.
Tips for Efficient iPhone Faxing
Optimize Your Documents
Ensure your documents are clear and legible before sending them. Use your iPhone’s camera to scan documents in a well-lit area to avoid shadows and ensure the text is readable.
Utilize Electronic Signatures
Many fax apps support electronic signatures, allowing you to sign documents directly on your iPhone. This eliminates the need to print, sign, and scan documents, streamlining the process.
Keep Track of Your Faxes
Maintain an organized record of sent and received faxes within the app. Most apps provide a history or archive feature to help you manage your documents efficiently.
Conclusion
Turning your iPhone into a fax machine is a practical and efficient way to handle faxing needs in today’s digital age. With the right app and a few simple steps, you can send and receive faxes conveniently from your smartphone. Embrace the benefits of mobile faxing to enhance your productivity, save costs, and contribute to a more sustainable environment.

